Step by Step Guide to Connecting a Custom Domain to Any Website Builder
Have you ever clicked on a website that looked beautiful but the URL said something like yourname.sitebuilder.com? Be honest, did it feel a little unprofessional? I still remember the first time I built my own website. It looked nice, but the moment I shared the link with a friend, he said it felt like a school project. That day I realised the magic of a custom domain. It just makes everything look real and trustworthy.
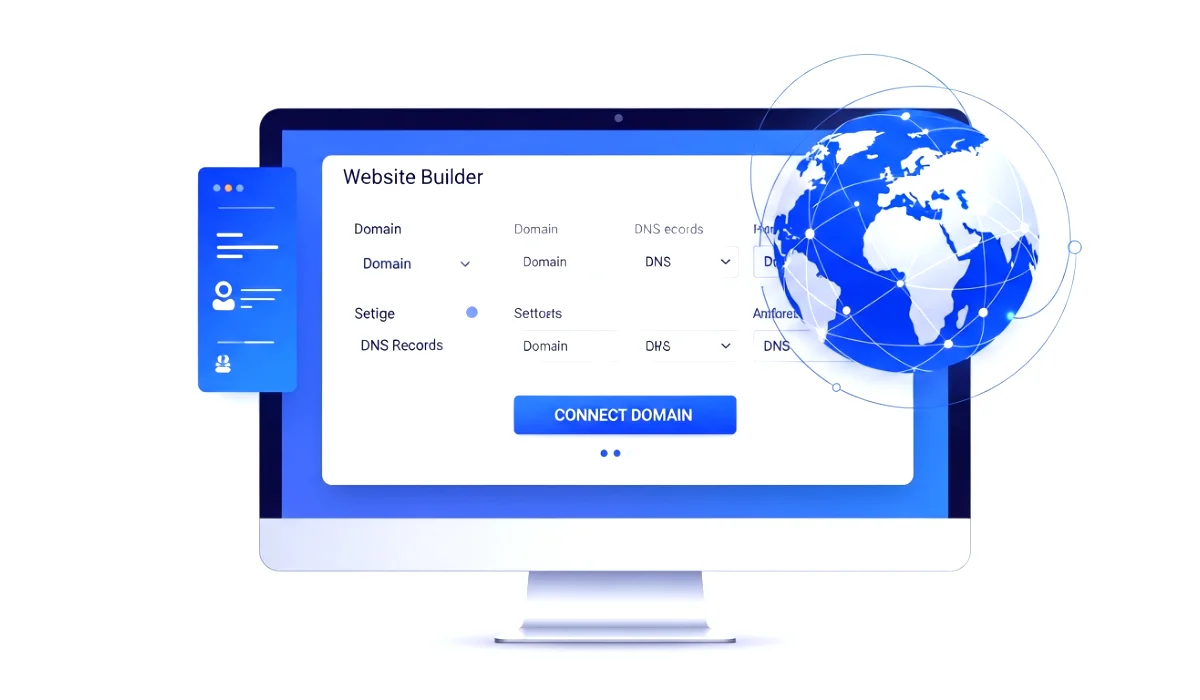
If you are building your website on platforms like Wix, WordPress, Squarespace, Webflow, Shopify, or any website builder, connecting a custom domain is one of the smartest upgrades you can make. And the best part? It is easier than most beginners think. You do not need coding skills or technical knowledge. You only need the right steps, patience, and a little confidence.
So in this complete guide, I will walk you through the step by step guide to connecting a custom domain to any website builder. I will explain how DNS works in simple language, what records you need, how to update them, and how to avoid the most common mistakes. The goal is to make you feel like you are sitting with a friend who has been building websites for years and wants you to succeed with zero stress.
Now let’s dive in.
Why Connecting a Custom Domain Matters
When you think about building an online presence, a custom domain is like having your own permanent address in the digital world. Without it, your website might look temporary or borrowed. Visitors judge websites within seconds. A professional name like www.yourbrand.com creates instant trust.
Here is why connecting a custom domain matters so much:
You can also read : Shared vs VPS vs Cloud Hosting: Which Is Best For Developers In 2026
1. It Looks Professional
If you are running a business, blog, or portfolio, your domain is often the first impression. A clean domain name reflects confidence and credibility.
2. It Helps SEO
Search engines treat custom domains more seriously. A good domain can help your website appear higher in search results.
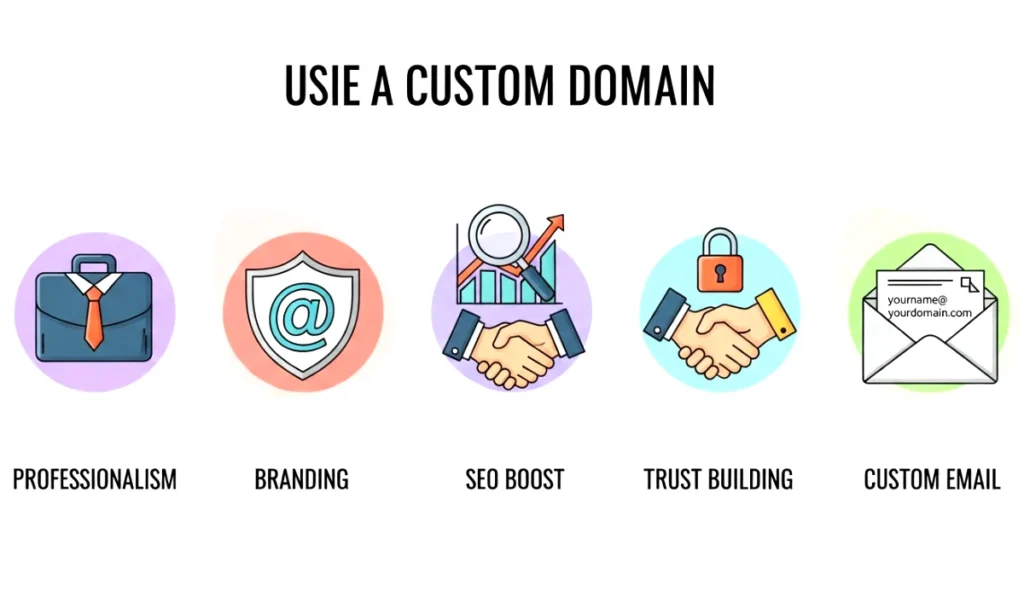
3. It Builds Brand Identity
Your domain becomes part of your brand. If you plan to grow, you cannot stay on a free subdomain forever.
4. It Allows Email Branding
Once the domain is connected, you can create email addresses like contact@yourdomain.com which looks professional compared to regular ones.
A custom domain is not just a URL. It is an investment in your online identity.
How Domain DNS Works in Simple Words
Before we start the step by step guide to connecting a custom domain to any website builder, you need to understand one thing: DNS.
But do not worry. I will explain it in the simplest possible way.
Imagine DNS as a giant phone book. When someone types your domain into the browser, the internet looks into this phone book to find where your website is stored. DNS records tell the internet which server to open.
Here is a simple story to help you understand.
I once moved into a new apartment and forgot to update my address in the courier app. So even though people knew my name, the delivery guy did not know where to find me. Only when I changed the address did my packages start arriving correctly.
DNS works exactly like that. Your website builder has your site. Your domain registrar has your domain name. DNS records connect the two.
If your DNS is wrong, your site will not load. If DNS is correct, your site goes live perfectly.
What You Need Before Connecting a Domain
Before you begin, make sure you have:
1. A domain name registered
This can be from GoDaddy, Namecheap, Hostinger, Google Domains, Porkbun, or any registrar of your choice.
2. A website builder or hosting platform
This can be:
- Wix
- WordPress
- Squarespace
- Webflow
- Shopify
- Blogger
- Weebly
- Zyro
- Carrd
- Netlify
- Cloudflare Pages
- Any other builder you want
3. Access to DNS settings
Inside your domain registrar there is a section called DNS or Manage DNS. You will update records here.
4. The connection details from your website builder
Every builder provides DNS records such as A records or CNAMEs. You will copy and paste them.
Once these are ready, you can follow the main steps.
Step by Step Guide to Connecting a Custom Domain to Any Website Builder
Now let us walk through the universal method. These steps work for almost all website builders because the process is the same.
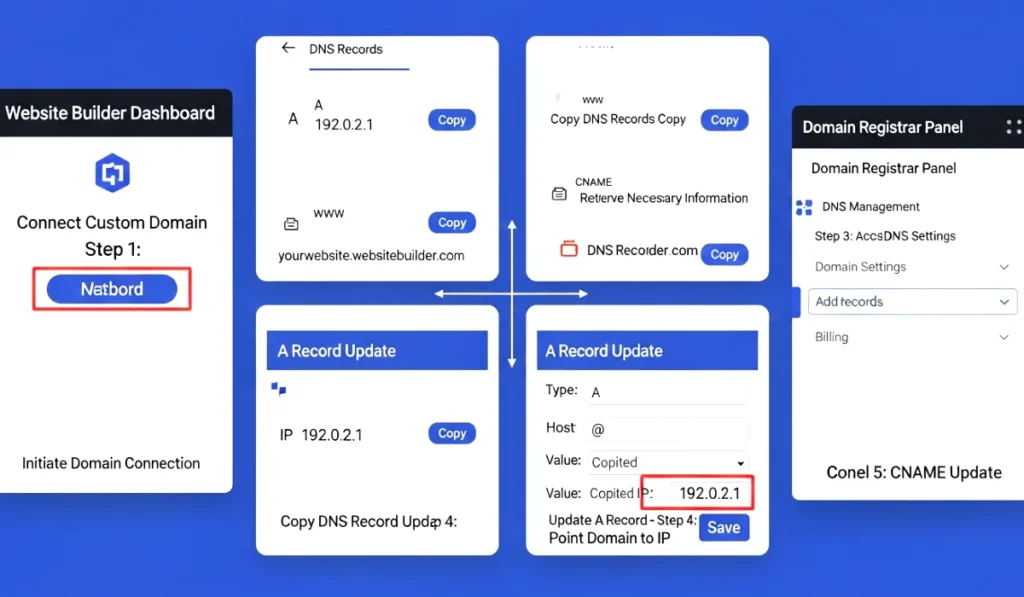
Step 1: Login to Your Website Builder
Open your website builder where your site is created. Go to settings or domain settings. There you will find an option like:
- Connect Domain
- Add Custom Domain
- Use Your Own Domain
Click on it.
Most builders ask you to enter your domain name. Enter it without https.
Example: mywebsite.com
Once you enter it, the platform will show you specific DNS records that need to be added.
Step 2: Copy the DNS Records Provided
Your builder will give you one or more of the following:
1. A Record
Usually points to an IP address.
2. CNAME Record
Usually points to a URL like www.sitebuilder.com.
3. TXT Record
Used for verification sometimes.
Copy exactly what they give you.
Do not modify anything. Even one extra space can break the connection.
Step 3: Login to Your Domain Registrar
Go to the website where you bought your domain. Examples:
GoDaddy
Namecheap
Google Domains
Hostinger
Porkbun
Cloudflare
Login and find the DNS or Manage DNS section.
Inside it you will see several fields like:
Name
Type
Value
TTL
Do not get confused. You only need to add the records your builder showed you.
Step 4: Add the A Record
If your builder gives an A record:
- Type: A
- Name: @
- Value: (IP address)
- TTL: Leave default
Save it.
This tells your domain to open your website builder’s server.
Step 5: Add the CNAME Record
Most builders want your www version to point to their server.
- Type: CNAME
- Name: www
- Value: (the CNAME they give you)
- TTL: Default
Save it.
This ensures www.yourdomain.com also works.
Step 6: Delete Old or Conflicting DNS Records
If your domain came with old hosting records, remove them. They can block your new connection.
Remove things like:
- Old A records
- Old CNAME records
- NS records unless required
- Parking page records
Your DNS list should only have what your builder recommends.
Step 7: Save Changes and Wait for DNS Propagation
Once you save all changes, your domain will start pointing to your builder. But DNS propagation can take time.
Let me explain.
How Long Does DNS Propagation Take
Sometimes your site connects instantly. Sometimes it takes 30 minutes. Sometimes even up to 24 hours.
Propagation means the internet is updating your new address across global servers.
During this time, some people may see your new site while others see the old one. It is normal and temporary.
I once connected a domain for a client and he called me in panic because the website was still not showing. Fifteen minutes later everything was perfect. Patience helps.
Common DNS Records You Will Use
Here is a quick understanding of the records you will deal with:
A Record
Points your domain to a server IP.
CNAME
Points one domain to another domain.
TXT Record
Used for verification and email services.
MX Records
Used for email hosting.
These basic records handle most common tasks.
Common Mistakes to Avoid When Connecting a Domain
Here are the mistakes that beginners make most often:
1. Adding extra spaces or dots
DNS is sensitive. Always copy and paste exactly.
2. Forgetting to delete old records
Conflicts cause your site to not load.
3. Adding multiple A records
Only use the ones your builder gives.
4. Confusing @ with blank field
@ usually means root domain.
5. Not waiting for propagation
Be patient. Your site will show up.
6. Connecting domain before verifying email
Some registrars require email verification.

Avoiding these mistakes guarantees smooth domain connection.
Final Thoughts on Connecting a Custom Domain
Connecting a custom domain is one of the best steps you can take for your website. It makes you look professional, improves your SEO, and strengthens your online identity. And as you have seen, the step by step guide to connecting a custom domain to any website builder is not complicated at all. Once you understand DNS and follow the steps carefully, everything works like magic.
If you have been delaying this step because you felt it was technical, now is the perfect time to do it. Open your website builder, grab your domain, update your DNS, and in a short time your site will have its own beautiful web address.